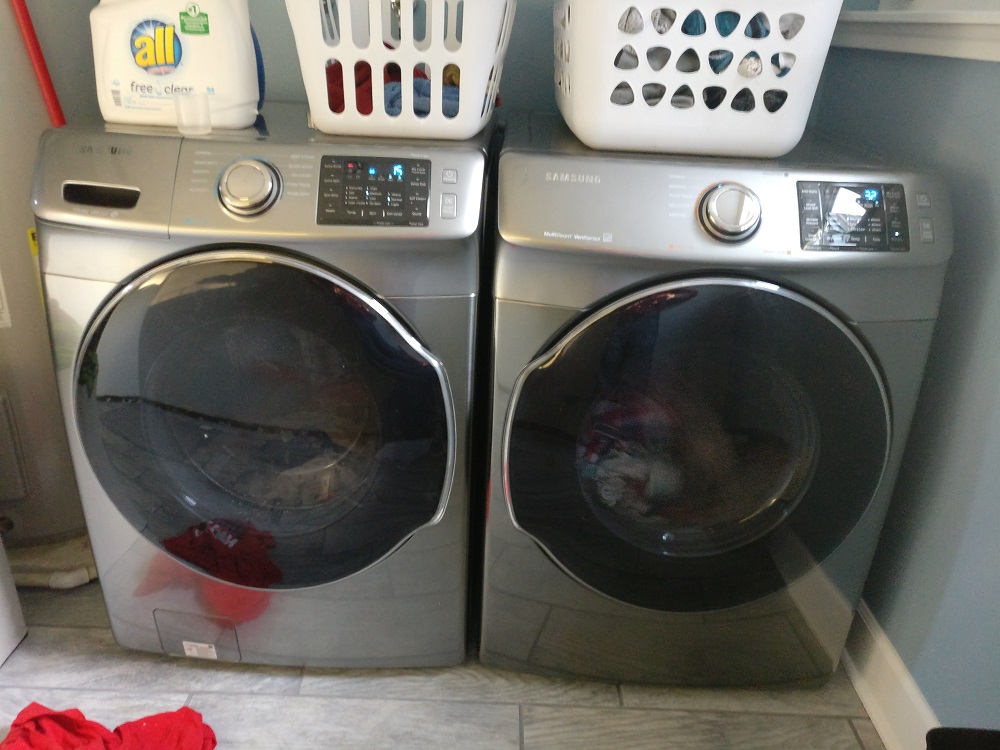
After the machines were delivered, the pace of the job slowed quite a bit. What’s the saying… If I say I’m going to do something, I’m going to do it… You don’t have to keep reminding me to do it every six months. Well, I only took five, so take that.
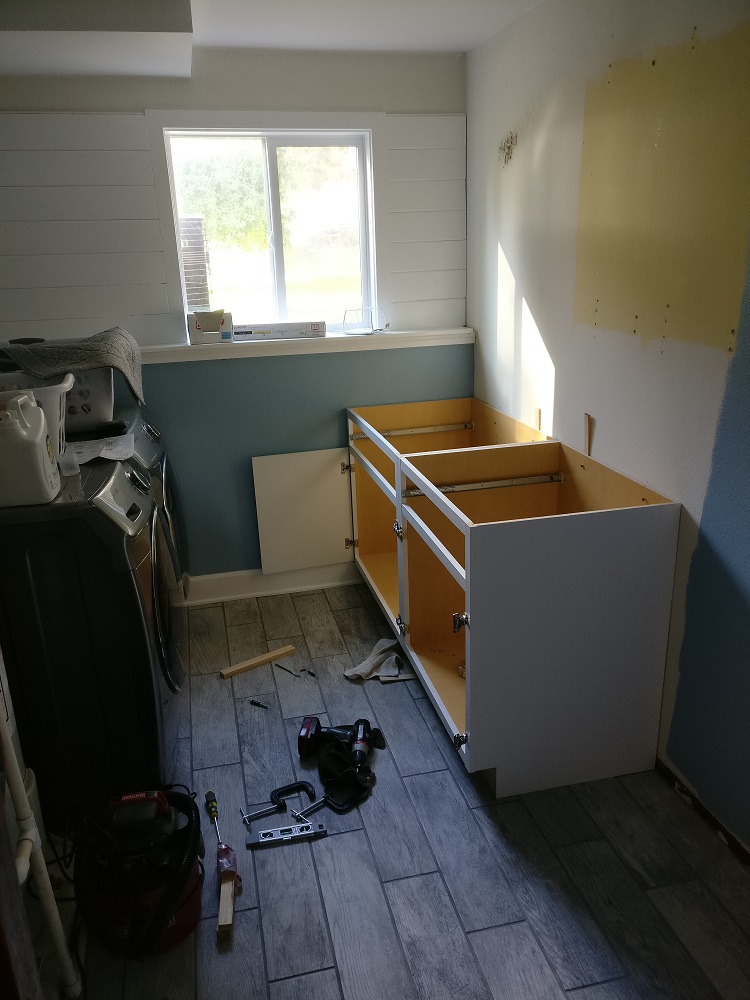
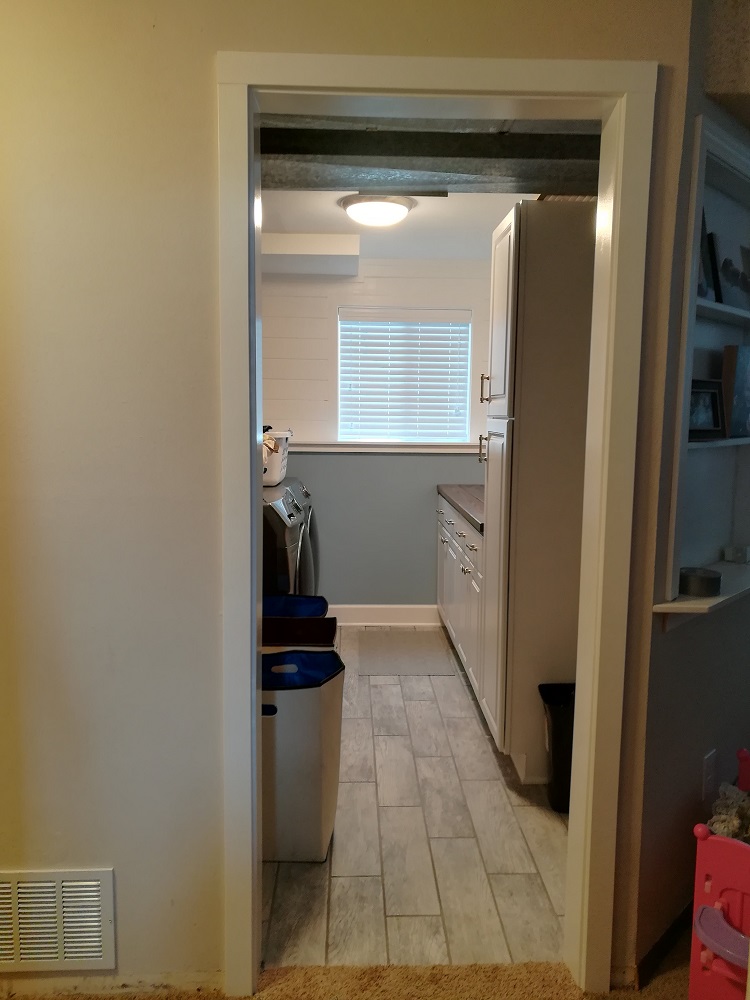
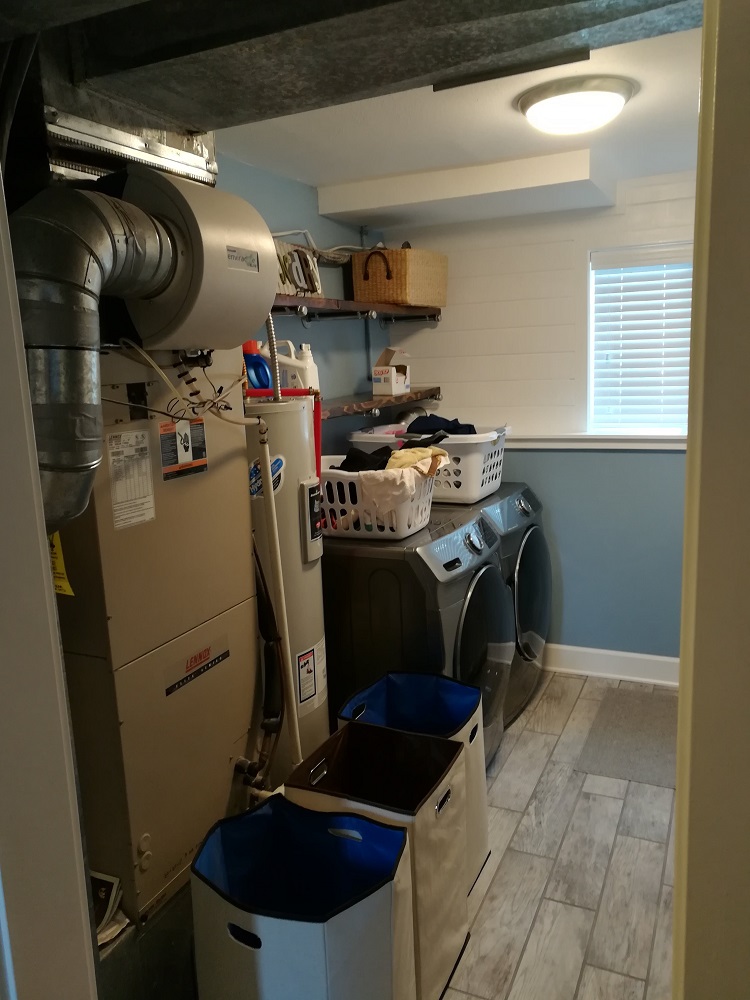
One of our top priorities during the renovation was to find a way to create more storage, as there wasn’t much available in the home. We had nowhere to store paper towels, toilet paper, cleaning supplies, etc., which made trips to Costco out of the question. Another goal was to create a safe place for my wife to hide from the kids while doing laundry in peace. This required a dedicated laundry folding area as well as a bar to hang clothes.
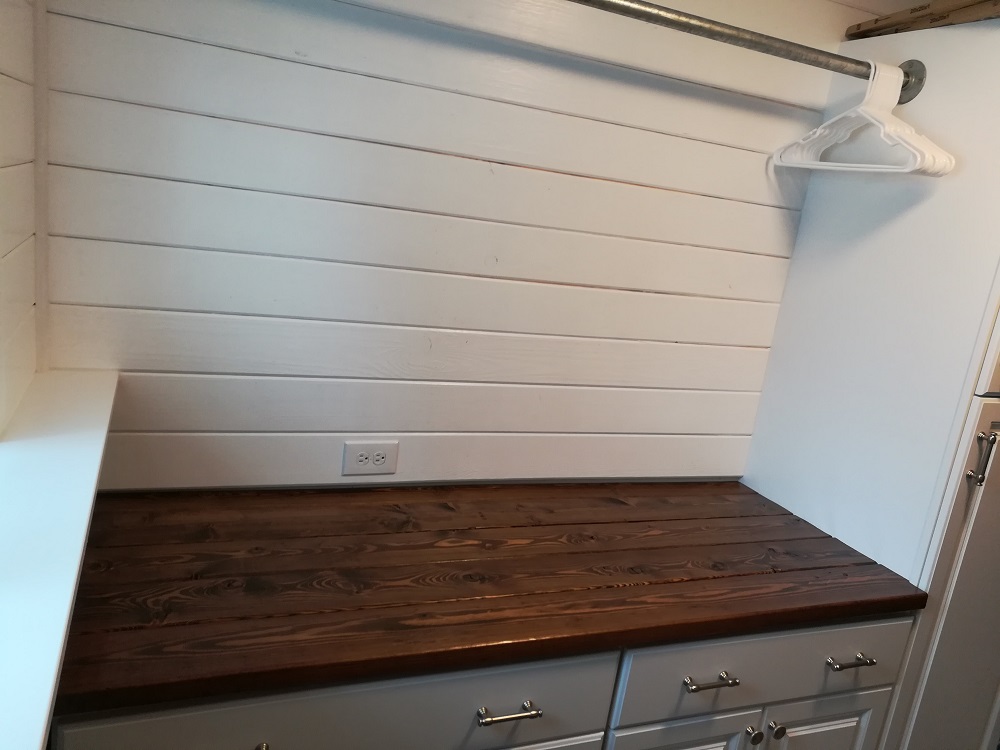
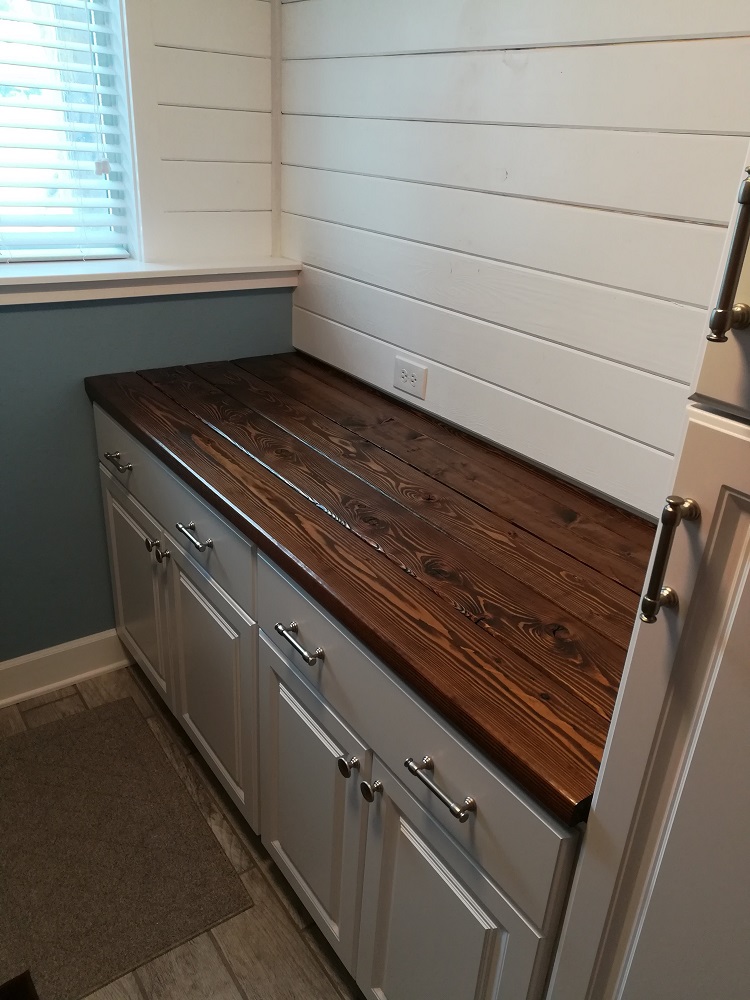
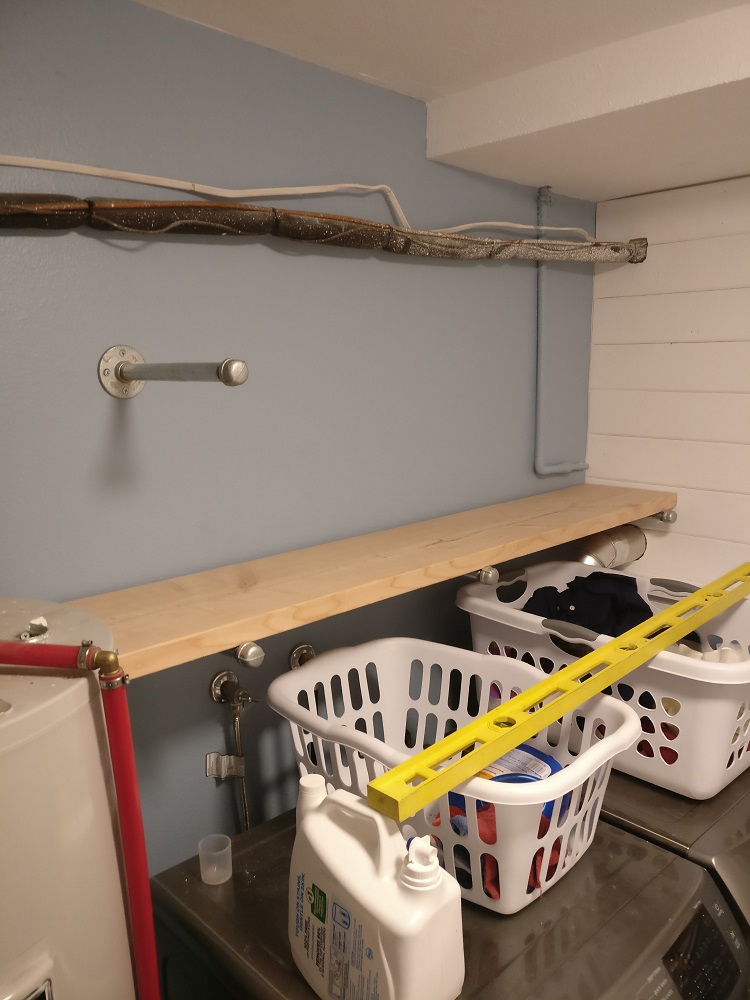
We decided on installing cabinetry with a stained 2×6 counter top that would match the lapboard siding. To go with the rustic, country styling, we went with galvanized pipe for the laundry bar. In addition to adding storage by way of cabinetry, we used galvanized pipe and stained 2x12s for shelving above the new laundry machines (I *might* have inadvertently drilled through a drain pipe while mounting these shelves, which I didn’t realize for several months… more on that in a future post).
Oddly enough, this room only had a single electrical receptacle… behind the laundry machines. We remedied this by installing two more: one by the door and one above the countertop. Thank you to my dad who was visiting from Houston at the time and helped me fish Romex through the wall. I roped him into that little bit of forced family fun time, for sure.
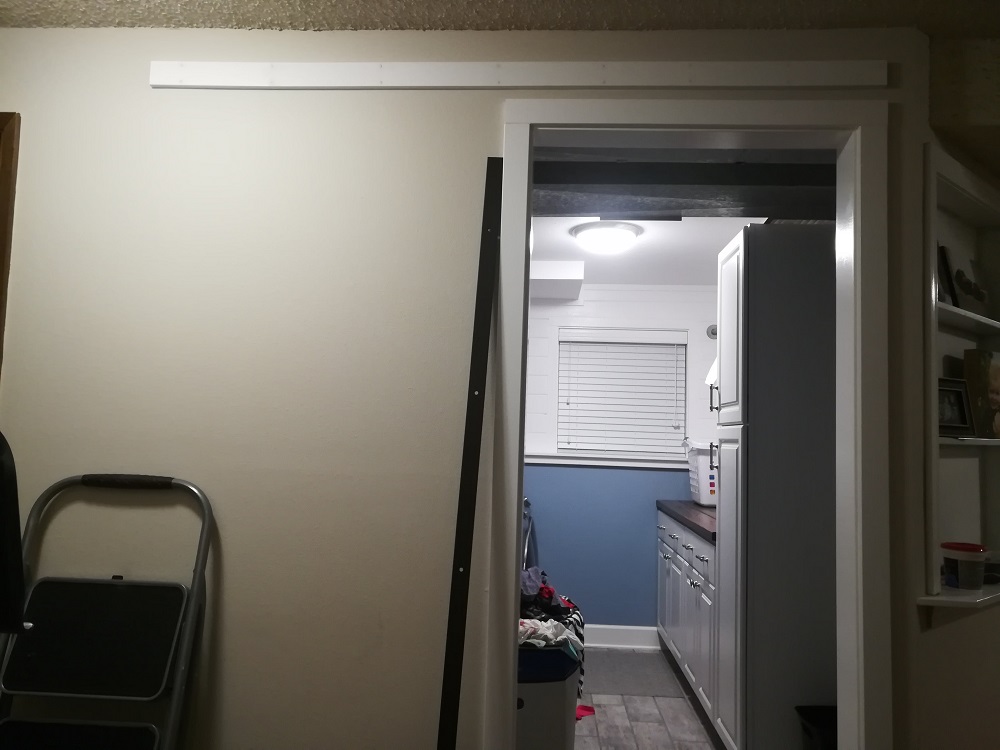
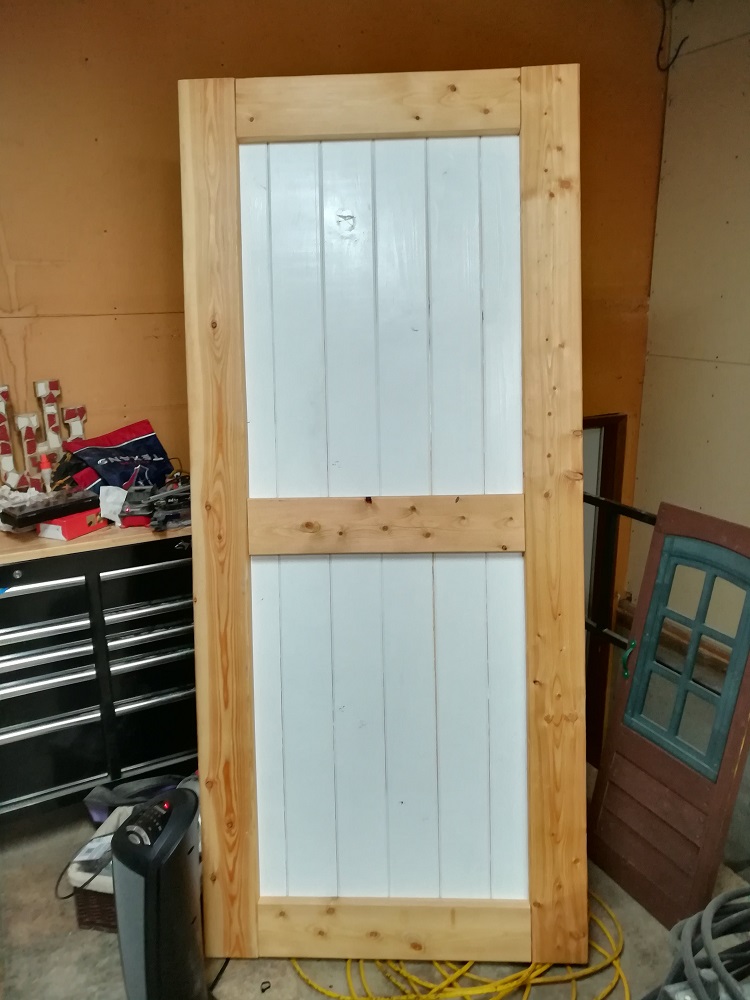
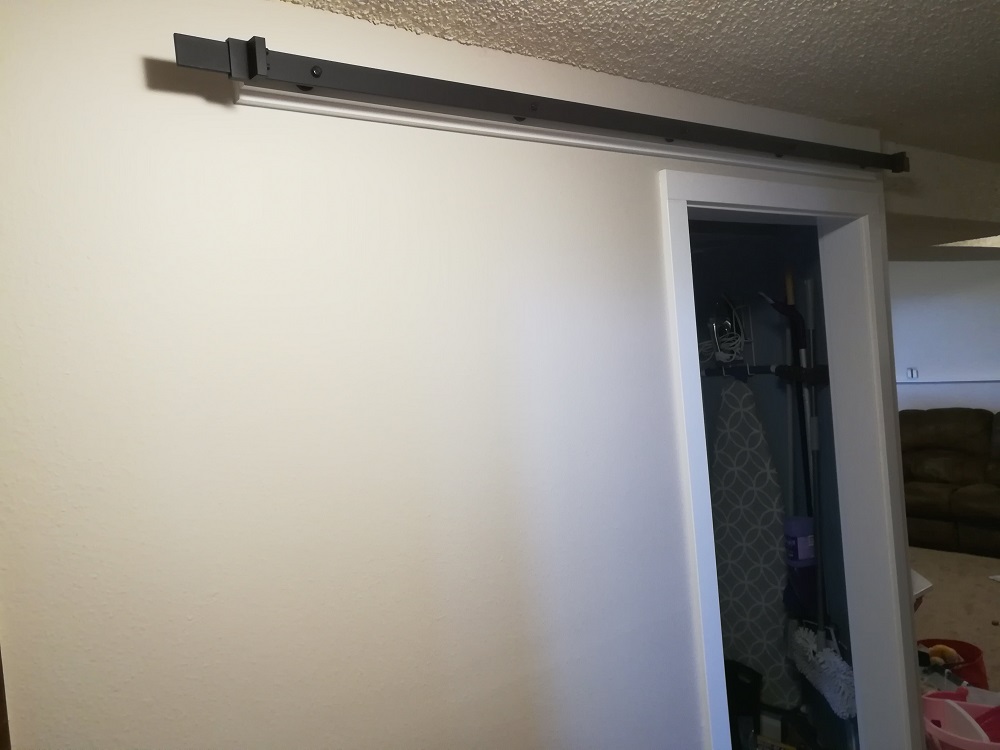
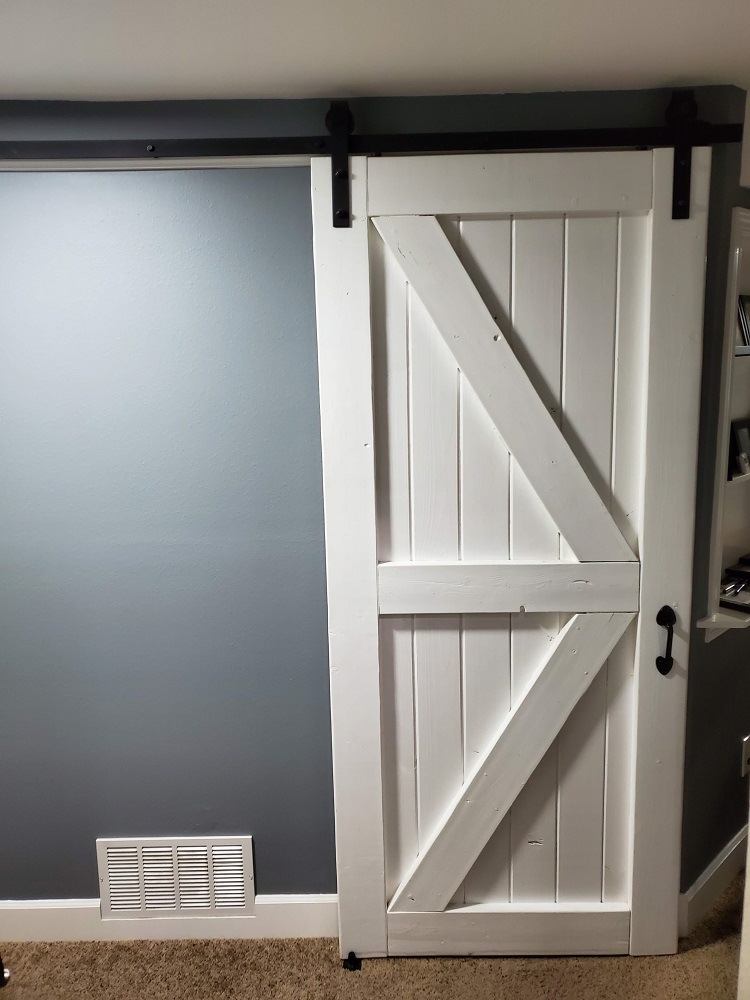
Finally, my wife loved the idea of installing a barn door somewhere in the house, and using one for this room was perfect… maybe because it’s the only place in the entire home that a barn door can actually be installed. I researched barn doors and quickly found that they were obscenely expensive for anything remotely approaching quality. So… I decided to build one instead. For about a hundred dollars in hanging hardware and another hundred in lumber with a bit of paint, we had ourselves a barn door. I used 2x6s for the frame and diagonals and the same lapboard used on the walls for the verticals. I’ll write a future post dedicated to the creation of the barn door. Thank you to my friend Mark for letting me use his planer for this project. Someday I’ll own one.
With the barn door installed, our five month quest to repair the broken dryer came to an abrupt, bittersweet end. My wife now has her safe haven to sort, wash, dry, fold, and hang clothes in perfect peace. Of course, barn doors aren’t sound proof, so she’ll get her perfect peace in about thirteen more years when the kids have moved out.
My Trim Factory

Lapboard Wall Trim 
Door Casing

My Organized Mess 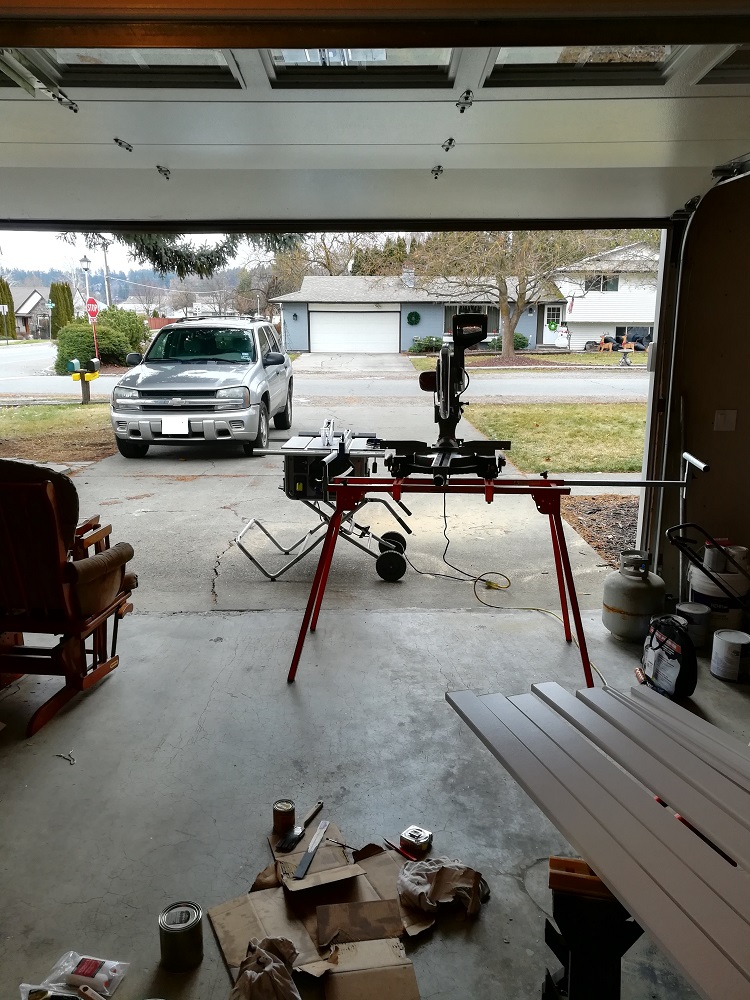
Ready to Cut
Cabinetry and Counter Top Installation
Multi-colored Walls 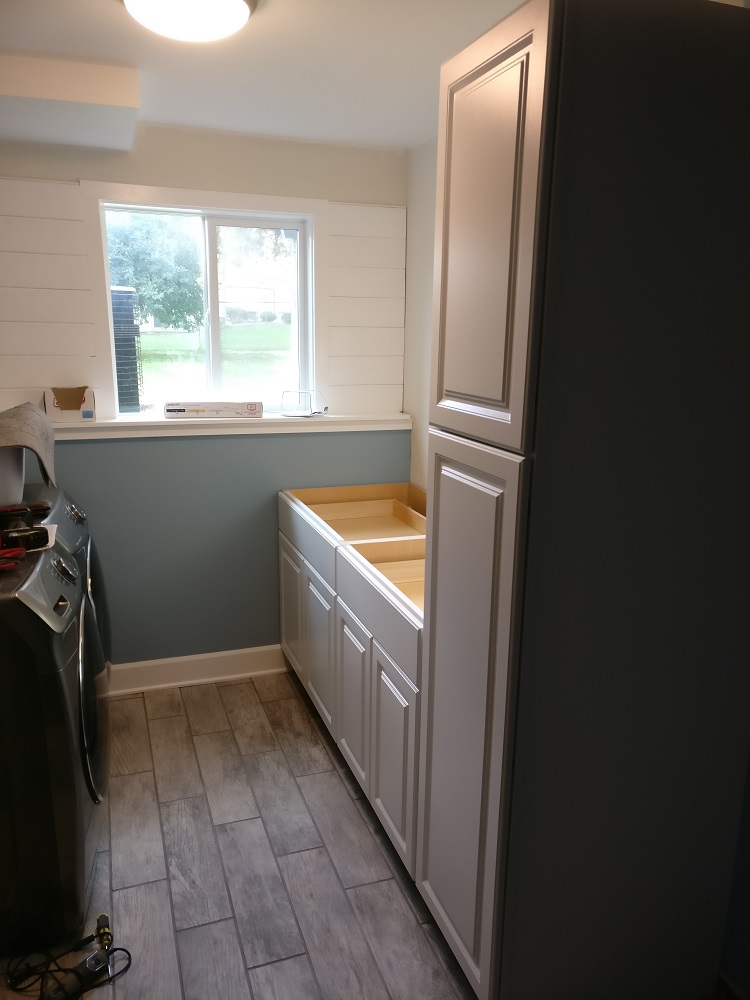
That’s Better 
Preparing the Counter 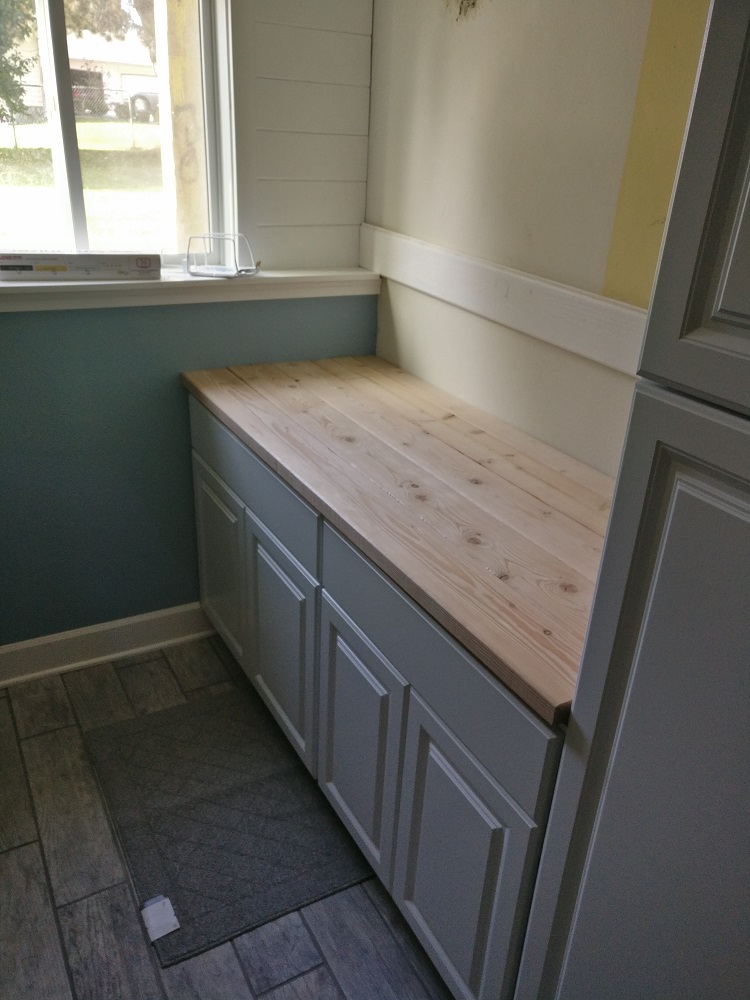
2×6 Counter and Lapboard Fitting

Lapboard Finished 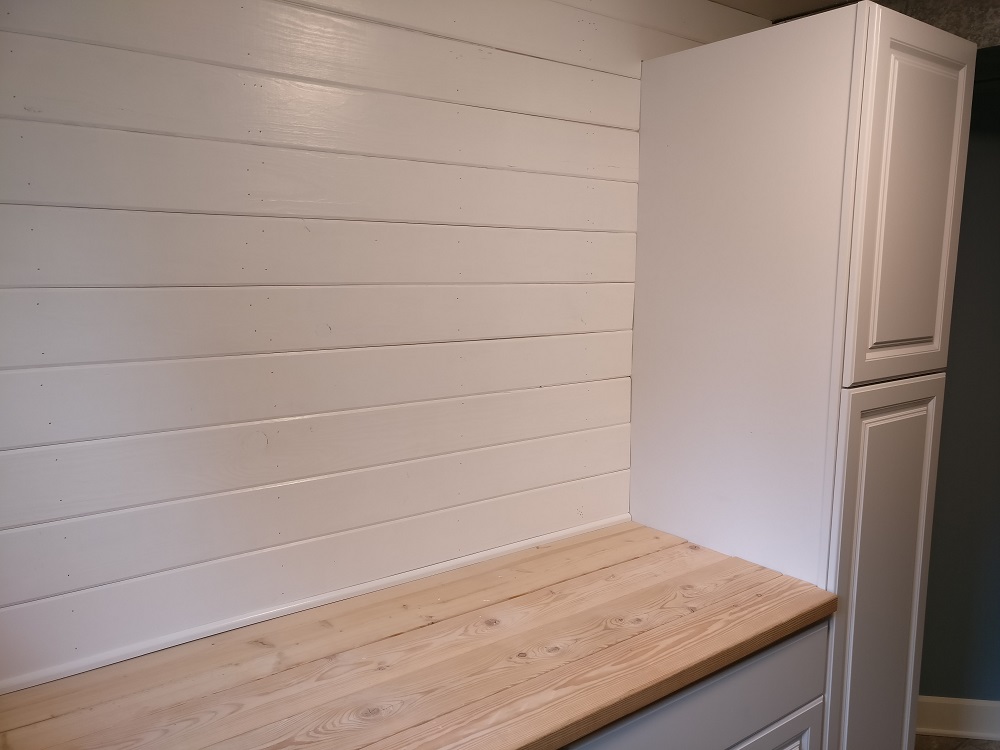
Before Caulking and Final Paint
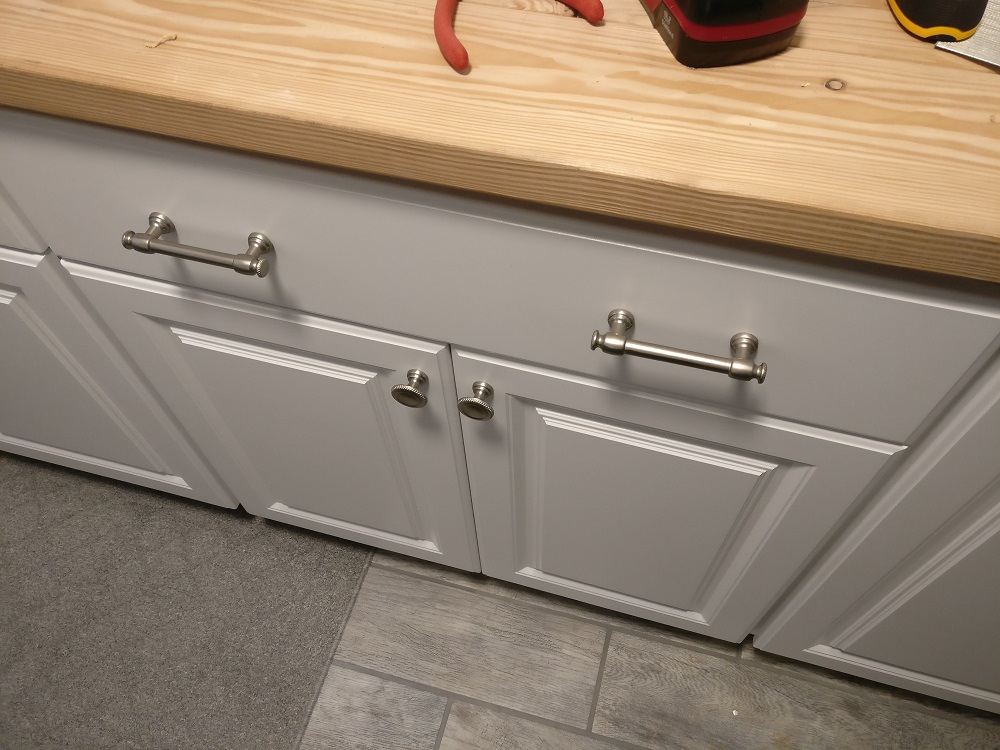
Handles and Pulls 
I Make Messes
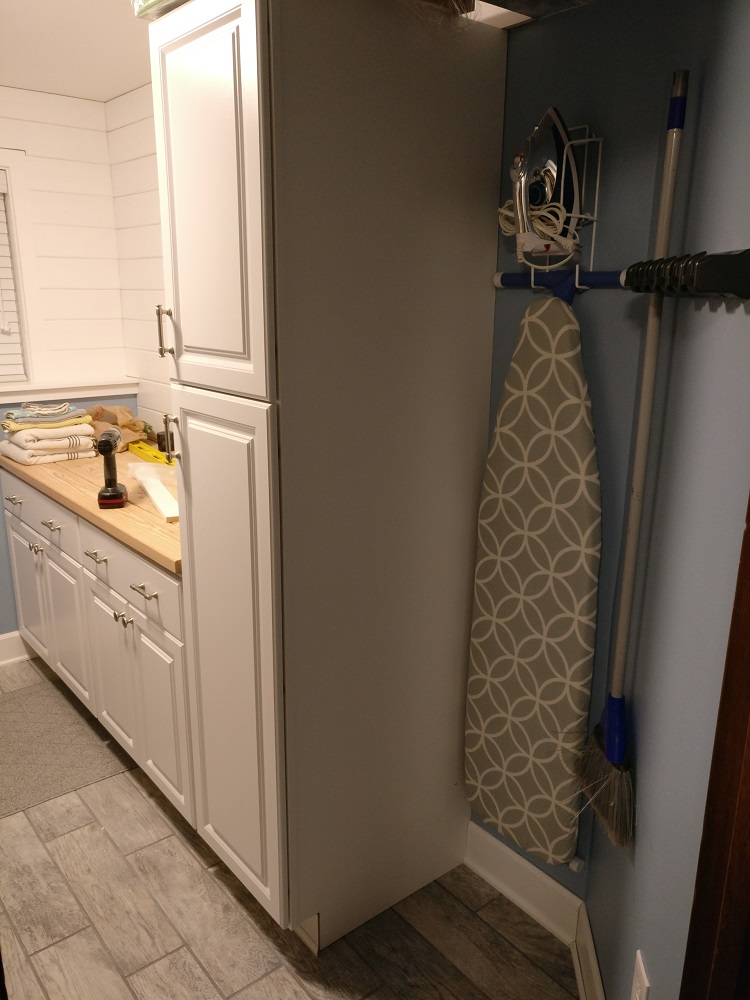
Ironing Board and Broom Holder
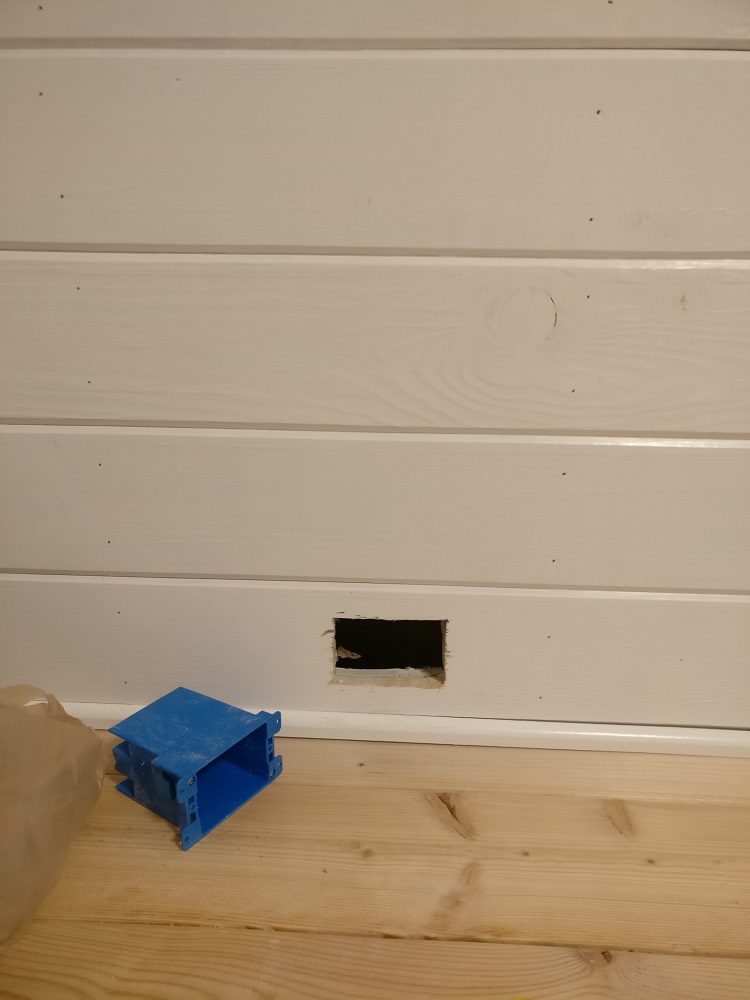
We Really Needed Electrical 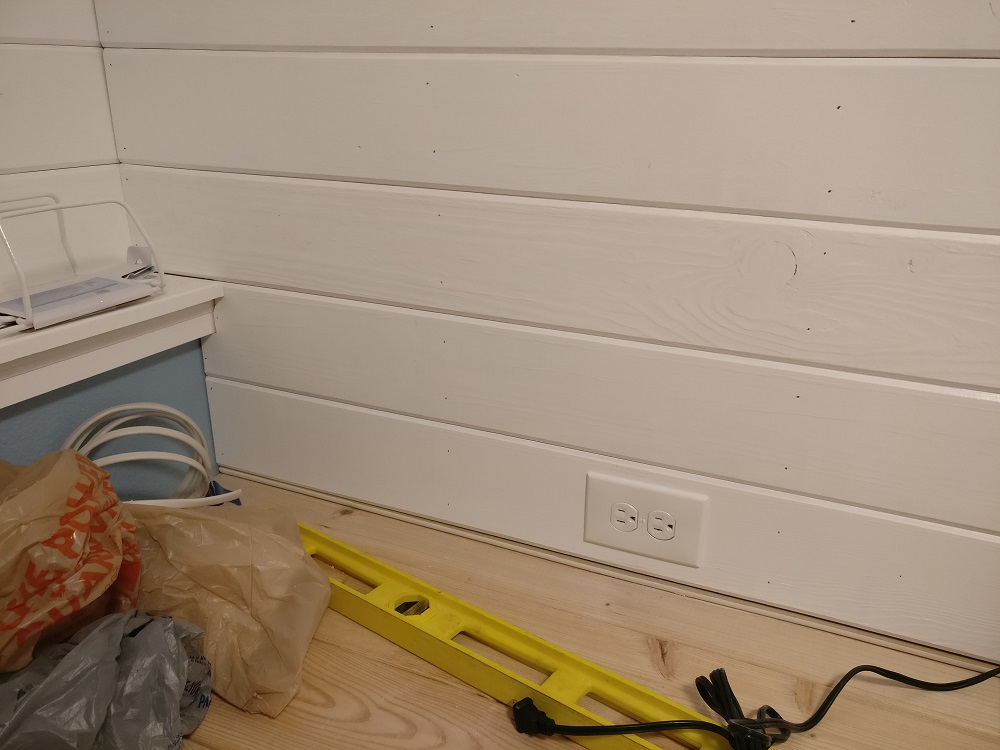
Problem Solved

Galvanized Pipe 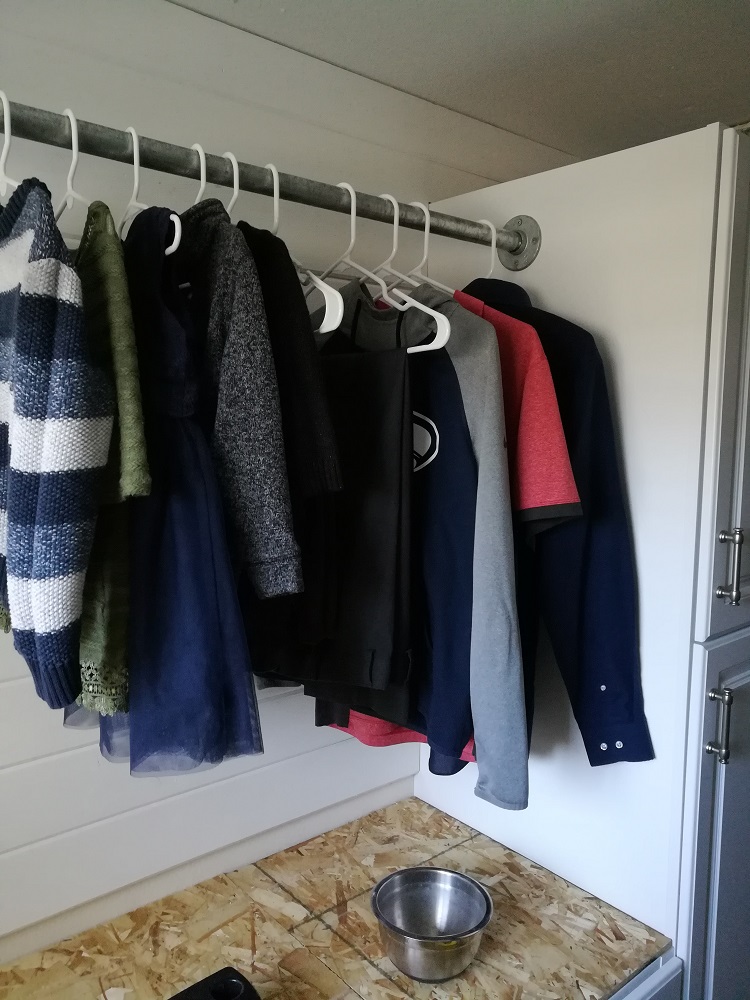
For Hanging Clothes
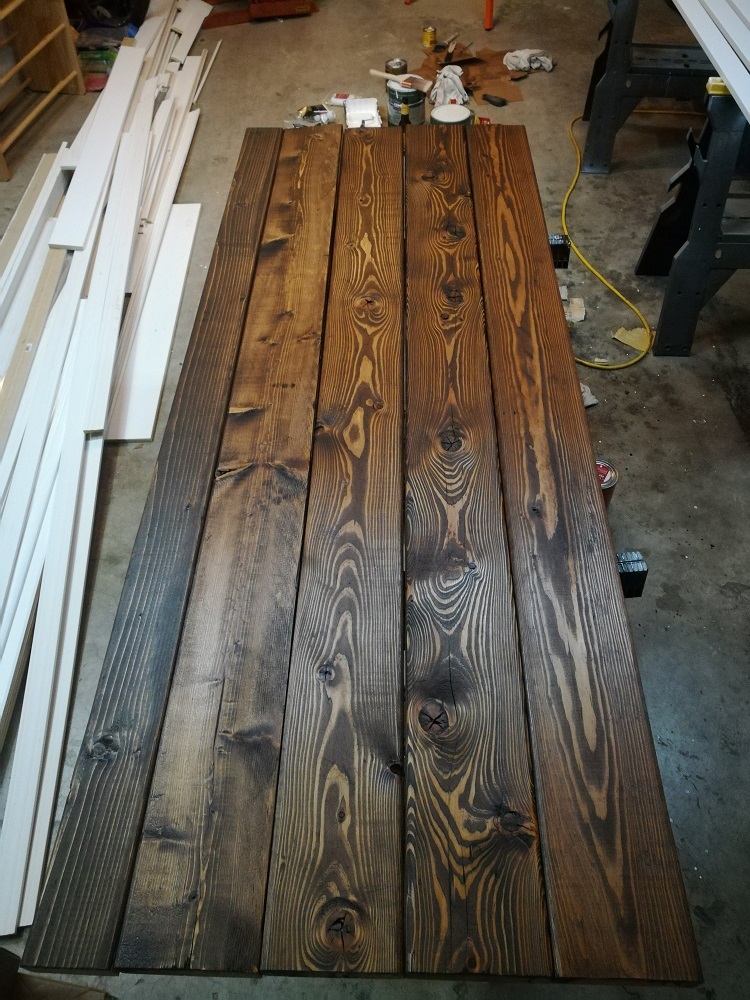
2×6 Counter Top Stain 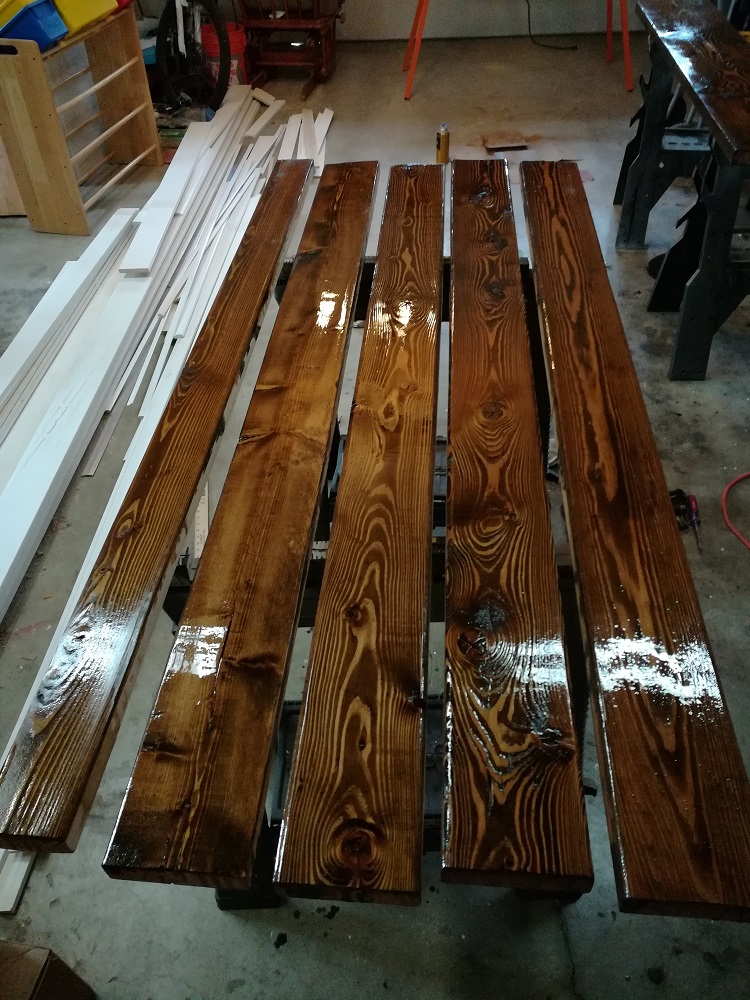
And Poly
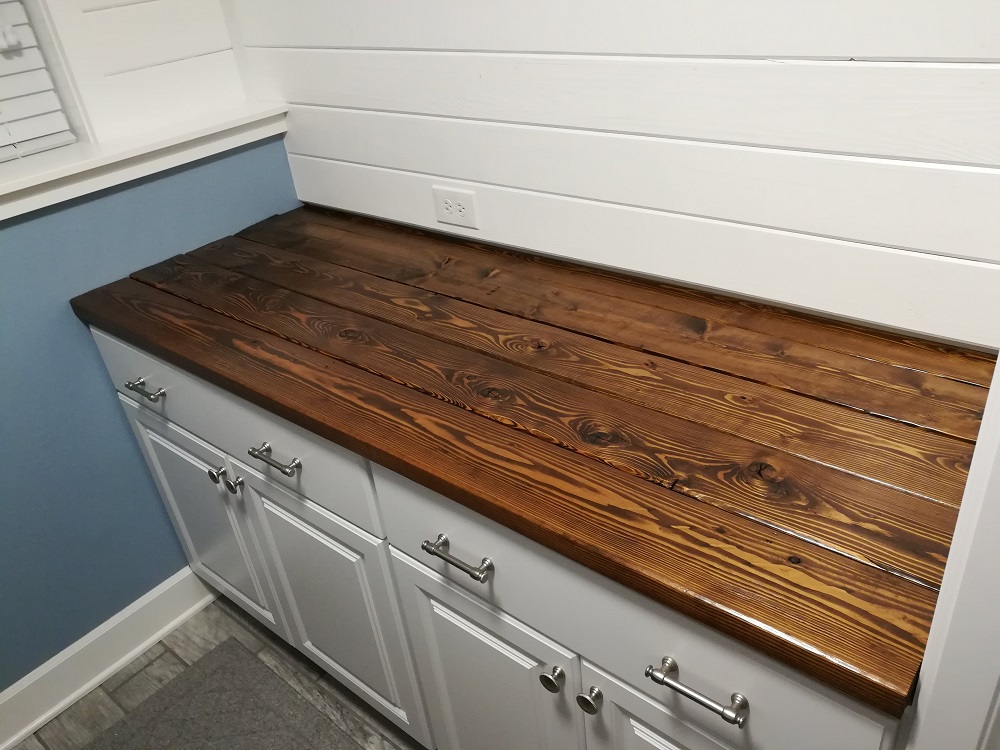
Installed and Finished
2×6 Counter Top
2×6 Counter Top 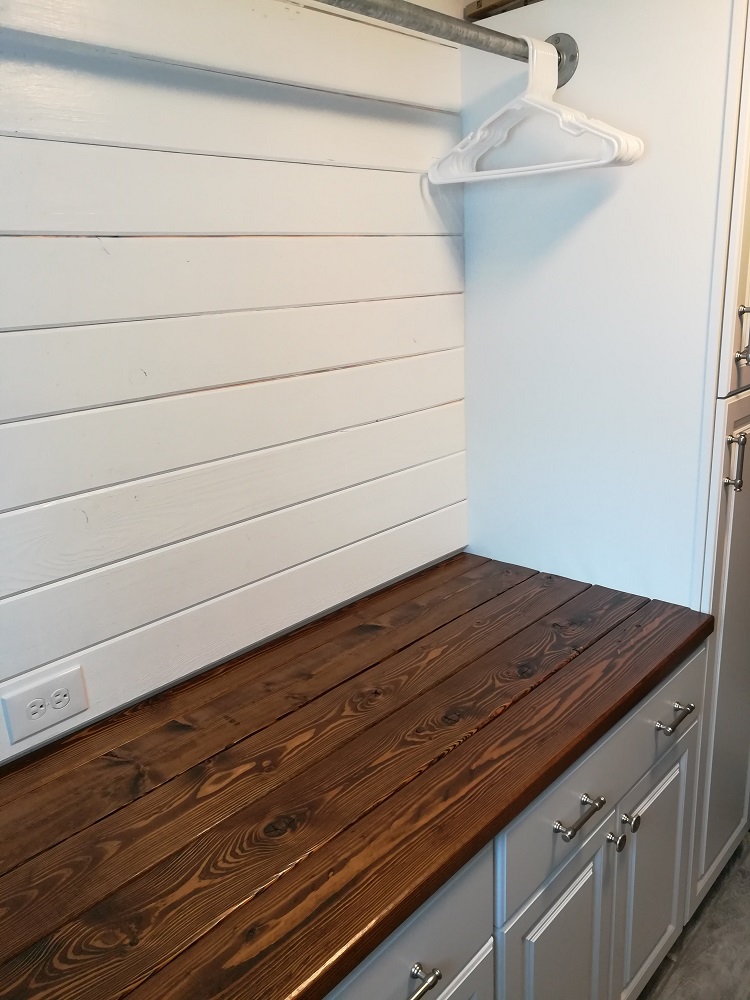
2×6 Counter Top 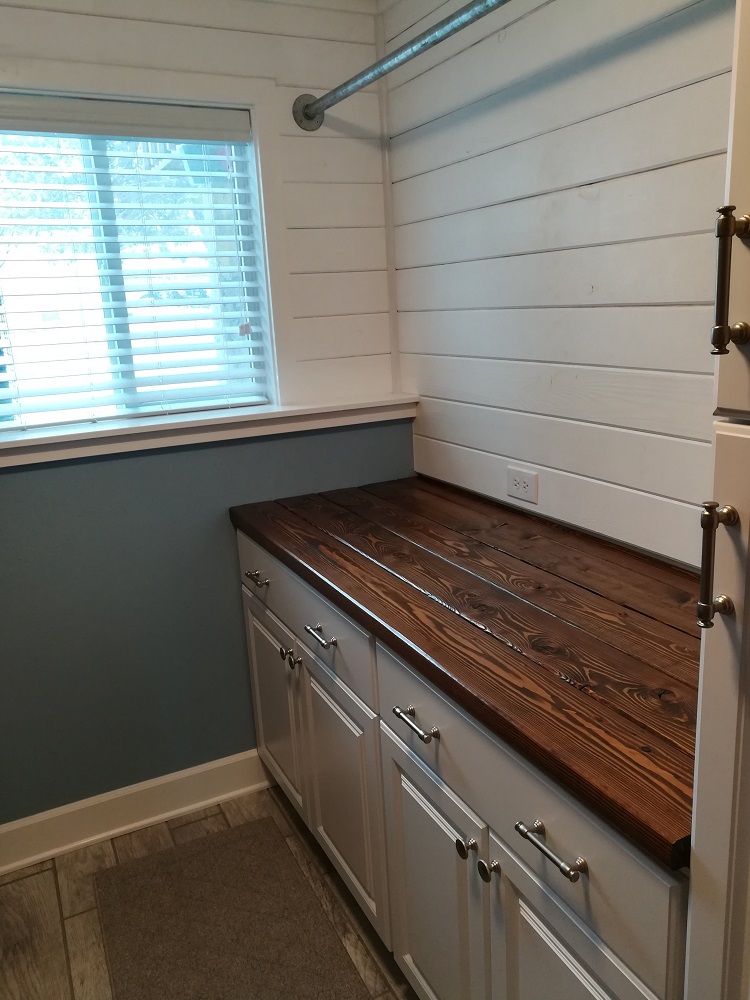
2×6 Counter Top
Shelving Above Machines
2×12 Shelving on Galvanized Pipe 
Fitting Prior to Stain

2×12 Shelving Stain 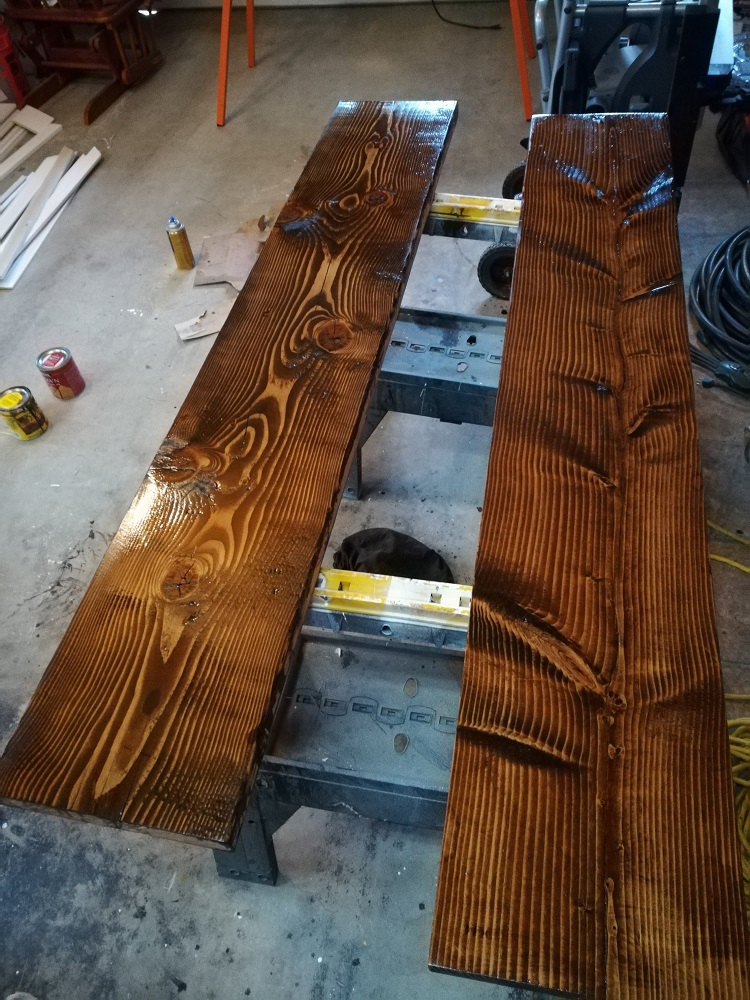
And Poly

2×12 Shelving Installed
Electrical and Door Trim

More Electrical 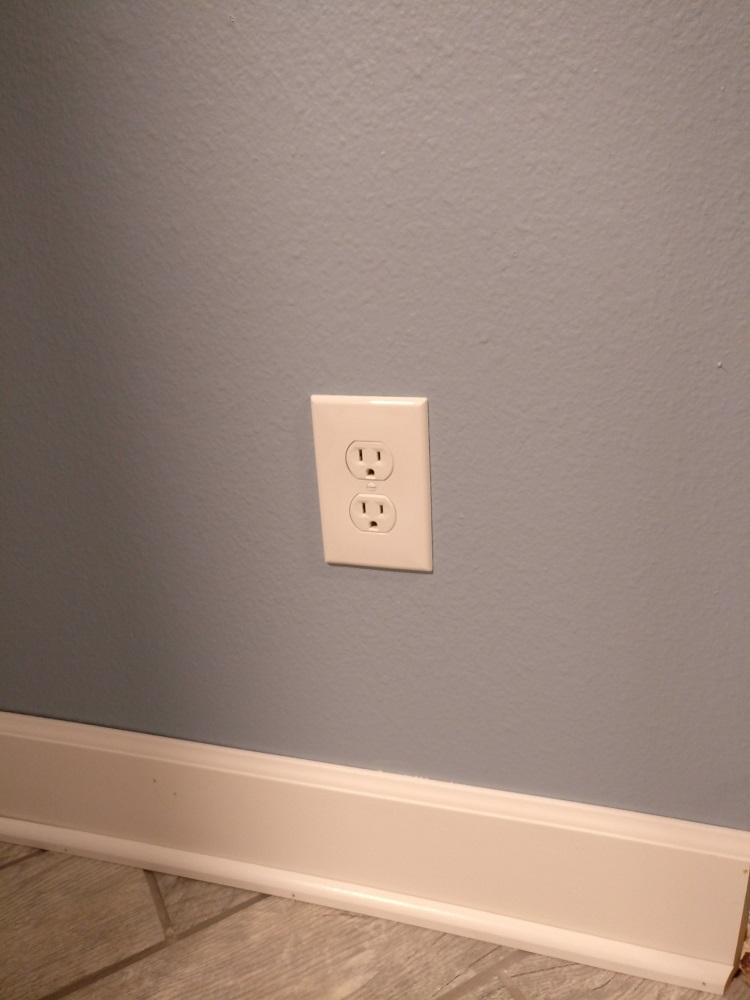
Beautiful

One of My Favorite Helpers 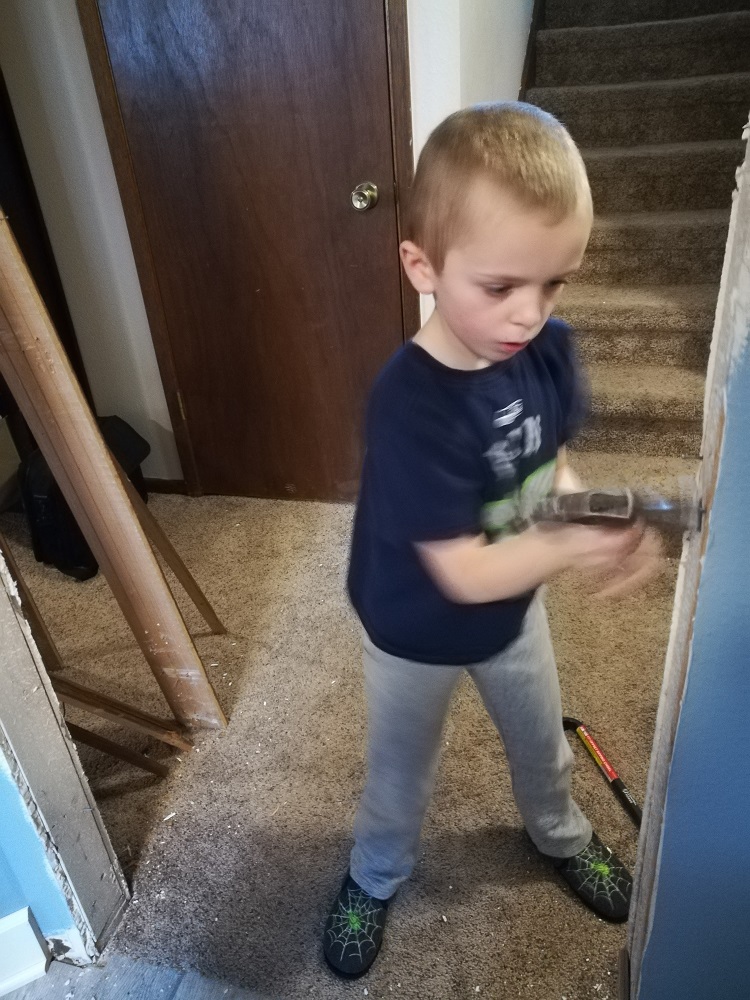
He’s Concentrating So Hard

Door Trim Removed 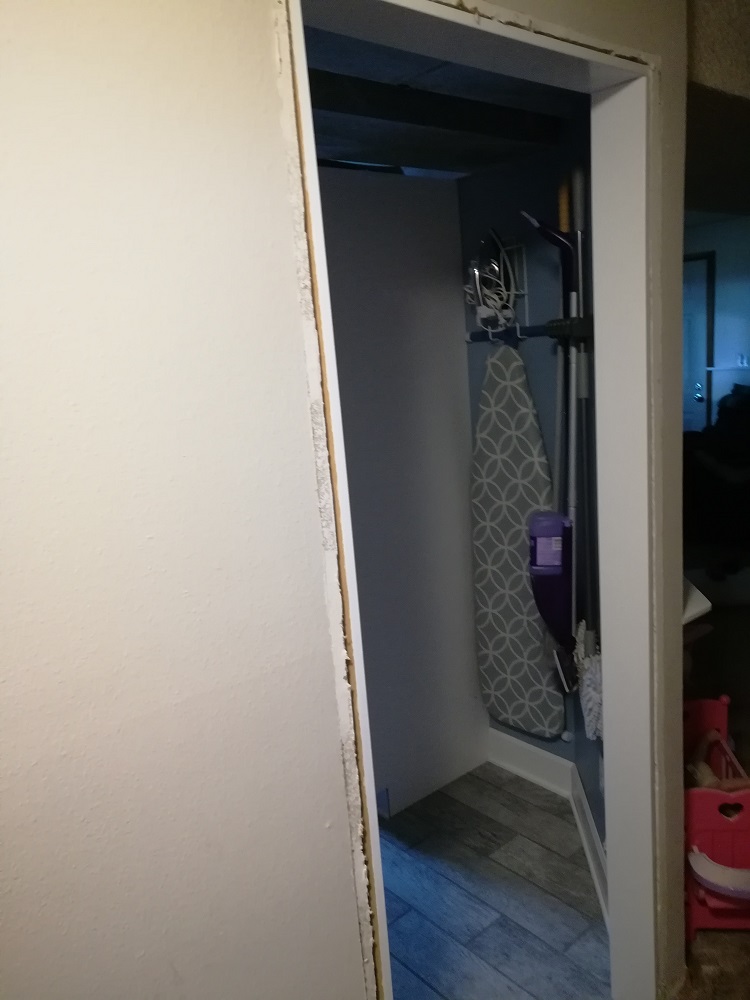
New Casing 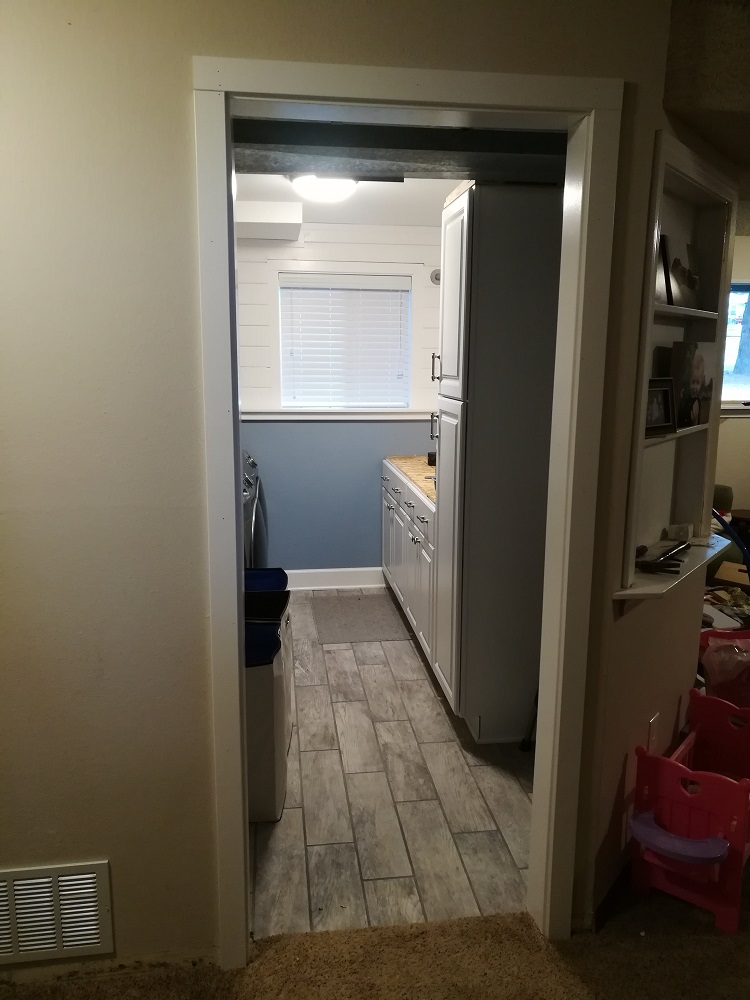
New Moulding
Door Trim Finished
The Barn Door
Installing the Header

Planed Down the 2x6s 
Building the Door
Finished Frame
Finished Header

Fitting the Door 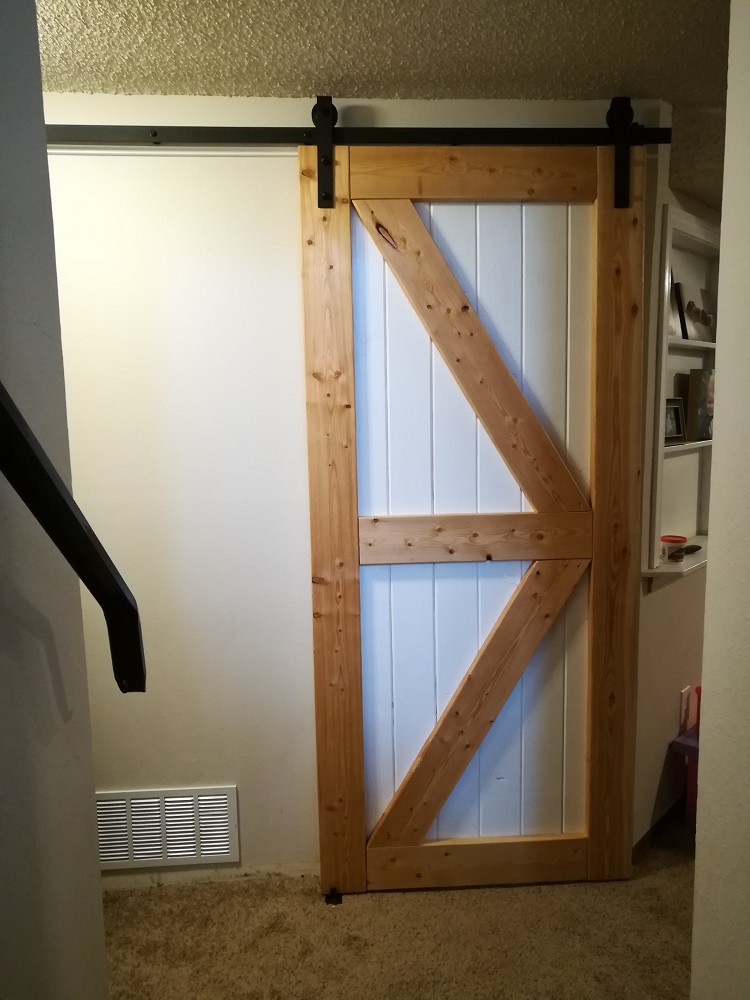
Testing the Sliding Mechanism

Painted 
Mounted 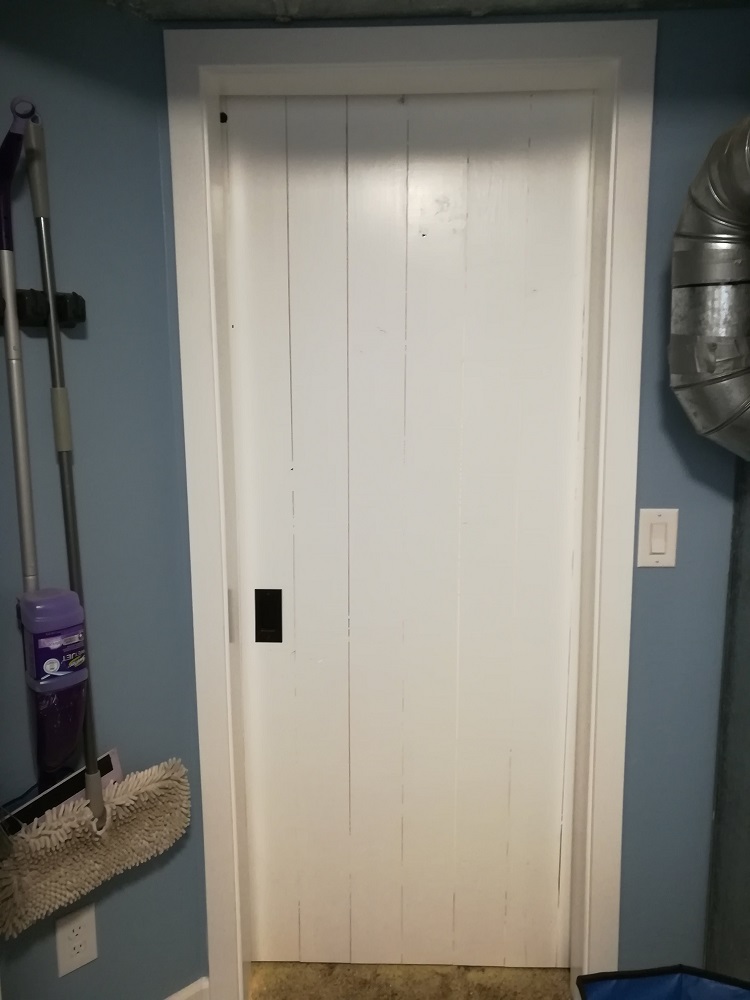
Inside with Handle
Finished Hallway Paint and Trim

Final Exterior View
Before and After

Move In Day

Left Side 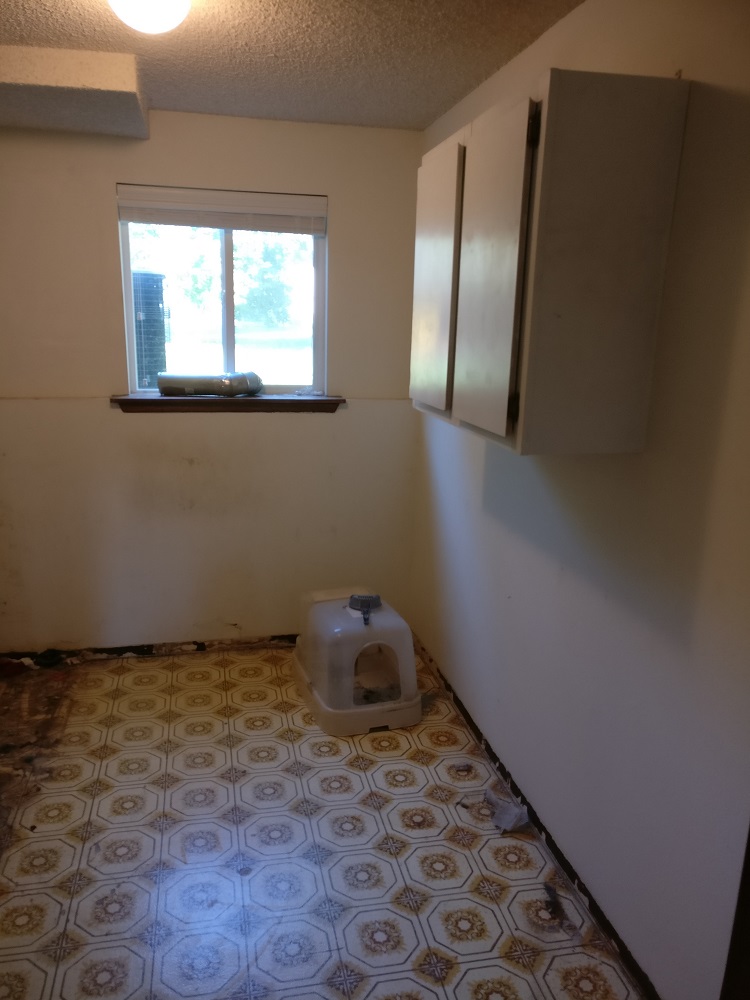
Right Side
Left Side 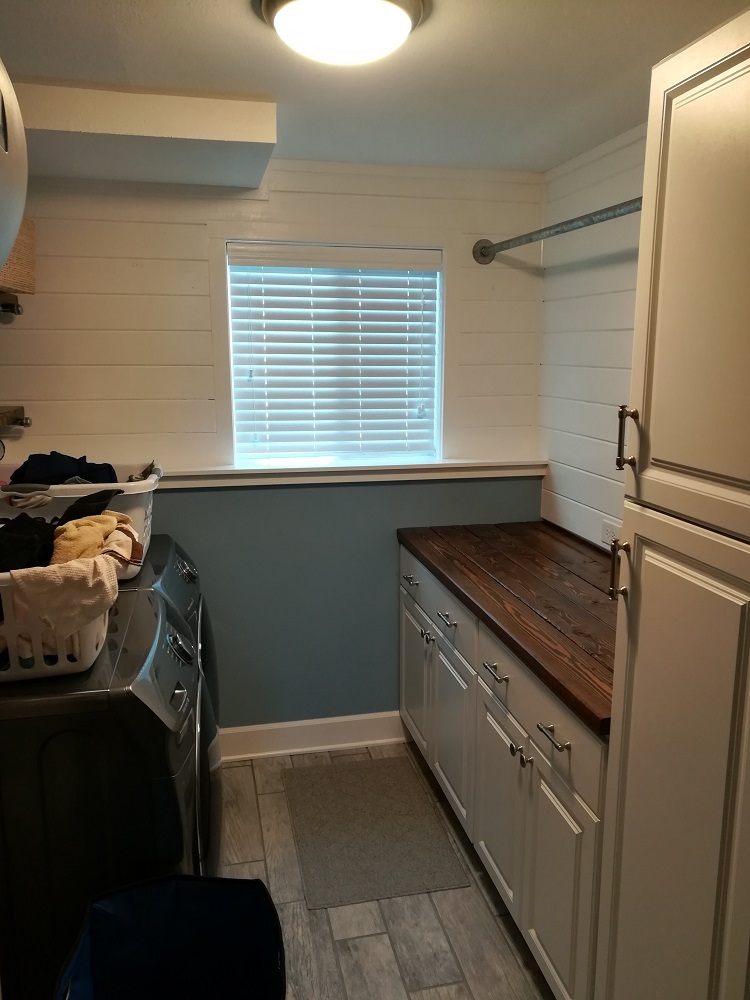
Right Side

One of Our Favorite Rooms
I absolutely love it and want you to come do mine please…. pretty please?!?!?!?!?!? LOL My do-it-yourself bestie will say he can swing it… I will have to show him for thought processes….